How to Stage Empty Rental Properties: A 2026 Guide

Table of Contents
Why Staging an Empty Rental Property Pays Off
Step 1: Define Each Living Space Before You Spend a Dollar
Map the Floor Plan and Functional Flow
Pick a Neutral Palette That Photographs Well
Step 2: Declutter, Depersonalize, and Deep Clean
Step 3: Fix Lighting and Brightness in Every Room
Step 4: Add Simple Decor Accents That Create a Focal Point
Textiles, Rug Placement, and Wall Art
Virtual Staging for Rental Properties: When It Beats Furniture Rental
The Real Cost of Staging a Rental Home
The Four Cost Buckets
How to Frame Staging as an ROI Decision
Where the Money Goes, Room by Room
Virtual Staging vs. Physical Staging: Cost Mechanics
DIY Home Staging Tips for Landlords on a Tight Budget
The DIY Sequence That Works
When to DIY, When to Hire a Pro, and When to Go Virtual
A Simple Decision Checklist
Standardizing Your Kit Across Units
Frequently Asked Questions
Last Updated: September 14, 2026
Why Staging an Empty Rental Property Pays Off
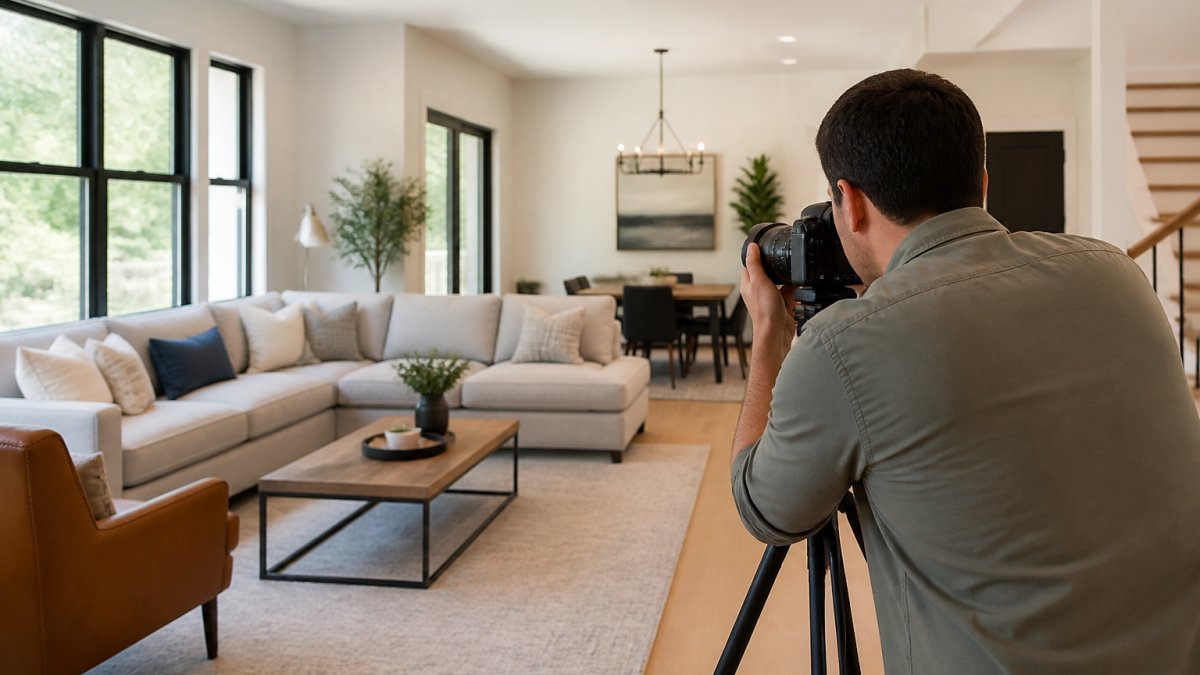
An empty rental property is the hardest listing to lease: tenants cannot picture a life in a blank box, and a stage empty rental photographs badly. Knowing how to stage empty rental properties is now a core leasing skill, not a design luxury, staged units show better, photograph better, and rent faster (NAR Report Reveals Home Staging Boosts Sale Prices and Reduces Time on Market).
This guide from REimage Real Estate Media walks through the full process, from mapping the floor plan to choosing between furniture rental and virtual staging.
The logic is straightforward: strong visuals and high-quality photography generate more showings, and more showings shorten vacancy. Every empty week is lost rent, so speed is the point.
Step 1: Define Each Living Space Before You Spend a Dollar
Define every room's function before buying or renting a single item. Ambiguous space is the most common reason a staged unit still feels unwelcoming.
Map the Floor Plan and Functional Flow
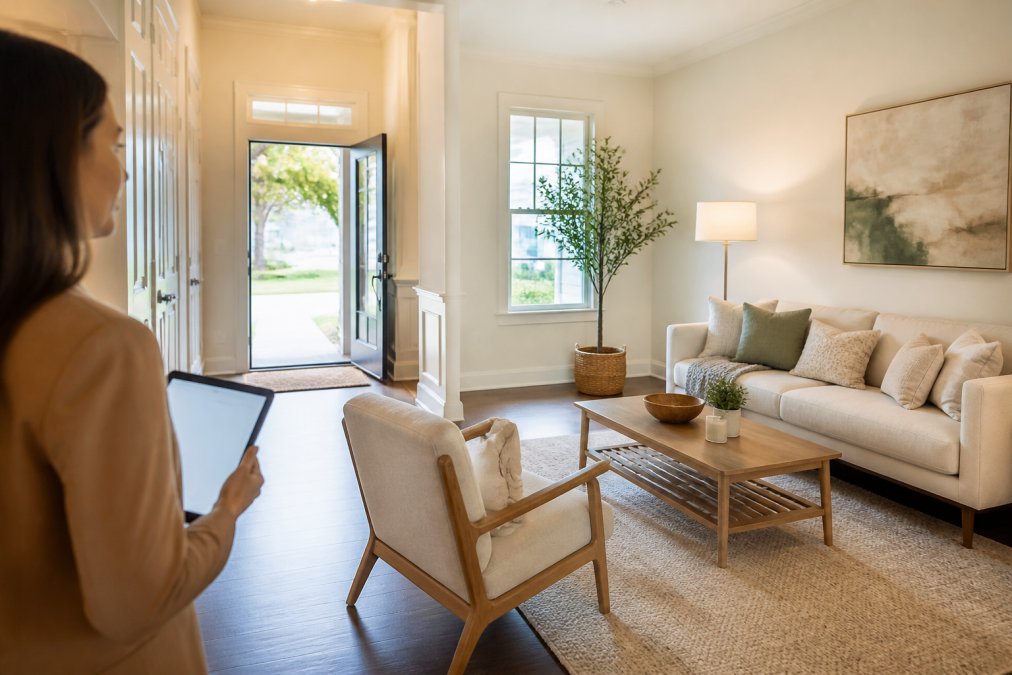
Walk the unit with the floor plan in hand and label each area by its most obvious use: a room between the kitchen and living area is a dining space, not a flex room. Functional flow matters more than square footage, tenants should reach the living space from the entry without crossing a bedroom.
If you are ordering a floor plan for the listing, note that REimage Real Estate Media includes a free basic 2D floor plan with every order, which gives prospective tenants a clear sense of space planning before they ever walk through the door.
Pick a Neutral Palette That Photographs Well
A neutral palette is not beige everywhere: it means warm whites, soft greys, and muted earth tones that read clean on camera and let tenants imagine their own furniture. Keep wall color, trim, and flooring in the same family so photographs feel like one property, not five.
Step 2: Declutter, Depersonalize, and Deep Clean
Decluttering and depersonalization are the cheapest staging work you will ever do, and they are non-negotiable. If the unit is occupied, remove personal items so it reads as a blank canvas, not someone else's home.
Start with these:
Clear countertops, shelves, and windowsills of personal items
Remove family photos, religious items, and collections
Pack away excess furniture that crowds the functional flow
Deep clean carpets, grout, baseboards, and light fixtures
Wash windows inside and out for maximum brightness
A common mistake is treating depersonalization as a light tidy. Tenants notice clutter in photographs before anything else, and a cluttered listing underperforms a clean one every time.
Step 3: Fix Lighting and Brightness in Every Room
Lighting is the highest-return fix in any staged rental. Swap dim or dated fixtures, replace every burnt-out bulb, and match color temperature across the unit so rooms do not shift from warm to cold between photos.
Then work with natural light: open every blind, remove heavy window treatments where the lease allows, and clean the glass. If a room stays dark, add a floor lamp in the corner opposite the window rather than overhead, which flattens a space. Brightness reads as cleanliness in a listing.
Pro Tip Photograph the unit in the late morning or early afternoon when natural light is strongest and most even. Shooting at dusk forces you to rely on interior fixtures, which rarely flatter a room.
Step 4: Add Simple Decor Accents That Create a Focal Point
Decor accents give a staged room something for the eye to land on. Without a focal point, a neutral room reads as unfinished rather than minimalist.

A single well-chosen piece, a large rug, a console table, or one piece of wall art, does more than a dozen small objects scattered around the room.
Textiles, Rug Placement, and Wall Art
Rug placement is where most DIY staging falls apart: too small makes a room feel cramped, while anchoring the seating area makes it feel intentional. As a rule, the front legs of the sofa and chairs should sit on the rug, not beside it (apartmenttherapy.com).
Textiles soften hard surfaces and add warmth without color commitment: one throw blanket, two or three cushions, and simple curtains are usually enough. Hang wall art at eye level and keep subject matter generic, landscapes, abstract prints, and architectural photography work; personal or political content does not.
Virtual Staging for Rental Properties: When It Beats Furniture Rental
Virtual staging for rental properties means digitally furnishing photographs of an empty unit so the listing shows a styled space with no physical furniture on site. It costs a fraction of furniture rental and takes days rather than weeks (Rethinking Virtual Staging for Today’s Real Estate Agents).
It wins in three situations:
The unit is small and physical furniture would make it feel cramped in photos
The lease timeline is short and furniture rental lead times are too long
The landlord wants to show multiple layout options for the same space
Where it falls short is authenticity: tenants feel misled if the in-person unit looks nothing like the photos, so disclosure matters. REimage Real Estate Media's virtual staging is designed to highlight your property's best features, keeping your reputation intact.
Situation | Best Option | Why |
Vacant unit, tight timeline | Virtual staging | Fast turnaround, low cost |
Open house with foot traffic | Furniture rental | Physical presence matters in person |
Small space that photographs tight | Virtual staging | Avoids crowding in photos |
Premium unit, high rental yield target | Furniture rental | Justifies higher asking rent |
The Real Cost of Staging a Rental Home
The cost of staging a rental home is not a single number; it is a structure. Landlords who understand it can decide how much to spend per room, per month, and per photo, then compare that against the rent lost while the unit sits empty. That comparison, not the sticker price, makes staging a financial decision rather than a design one. Minimizing vacancy duration requires a broader operational strategy, as speeding up unit turns often proves just as critical to your bottom line as the initial visual appeal of the space.
The Four Cost Buckets
Almost every staging budget falls into four buckets:
Furniture and soft goods. For physical staging, this is the largest line item. Rental furniture is priced per piece, per room, or per package, usually on a monthly term with a minimum commitment. Delivery, setup, and pickup are often billed separately, so ask for an all-in quote.
Lighting and minor repairs. Bulbs, fixture swaps, outlet covers, paint touch-ups, and hardware. These are small line items that disproportionately affect how a unit reads on camera.
Cleaning. A deep clean before photography, not after. Carpets, grout, baseboards, windows, and light fixtures.
Photography and virtual staging. The media layer that actually drives click-through on the listing.
The fourth bucket is the one landlords cut first and regret most. Poor photography undermines every dollar spent on the first three.
How to Frame Staging as an ROI Decision
Staging is not a cost center; it is a vacancy-reduction tool. The math is straightforward:
Estimate the monthly rent the unit should command.
Divide that by roughly 4.3 to get an approximate weekly rent figure.
Estimate how many weeks of vacancy staging could realistically remove (a common pattern is one to three weeks, but this varies by market and season).
Multiply weekly rent by weeks saved to get the gross benefit.
Subtract the all-in staging cost, including delivery, pickup, and photography.
If the gross benefit exceeds the all-in cost, staging is a positive-return decision even before any higher asking rent. If not, virtual staging or a lighter physical setup is usually better.
Key Takeaway Staging pays off when the rent you recover from a shorter vacancy exceeds the all-in cost of staging. Run the math per unit, not per portfolio, because a small studio and a four-bedroom house have very different cost structures and very different weekly rent figures.
Where the Money Goes, Room by Room
Landlords commonly report that the living room and primary bedroom absorb most of a physical staging budget, because those rooms anchor listing photos. Secondary bedrooms, hallways, and utility spaces can be handled with minimal pieces or left sparse. Spending evenly across every room is usually a mistake; spend where the camera looks.
Virtual Staging vs. Physical Staging: Cost Mechanics
Virtual staging is priced per photo, so cost scales with the number of images ordered, not unit size. Physical staging is priced per room, per month, plus delivery and pickup, so cost scales with square footage and time on market. A unit that leases in two weeks is cheap to stage physically; one that lingers three months is not.
For current pricing on virtual staging and photography, check REimage Real Estate Media's website directly rather than relying on a generic estimate.
Watch Out Skipping professional photography to save money is the most expensive mistake in rental marketing. Dim, poorly framed listing photos suppress click-through, which means fewer showings and longer vacancy, regardless of how well the unit is staged.
DIY Home Staging Tips for Landlords on a Tight Budget
DIY home staging tips for landlords come down to spending where the camera looks and saving where it does not. You do not need a designer to stage a rental well, just discipline about what shows up in photos and a clear rule for when to stop doing it yourself.
The DIY Sequence That Works
Work in this order, and do not skip ahead:
Clean and depersonalize first, before buying anything.
Fix lighting and brightness across every room.
Add one focal point per main living space.
Use textiles and rug placement to soften hard surfaces.
Photograph in good light, then review the shots before listing.
The thing nobody tells you about DIY staging is that restraint beats abundance: a few strong pieces in a clean, bright space outperform a fully furnished unit that feels cluttered. If you stage multiple properties, standardize your accent kit so setup time drops with each unit.
When to DIY, When to Hire a Pro, and When to Go Virtual
The real decision is not "DIY or not." It is which of three routes fits the unit, the timeline, and the budget:
DIY with owned or thrifted pieces. Best for landlords who already own suitable furniture, are staging a small unit, or are testing a market. The trade-off is time: sourcing, hauling, and arranging can consume a weekend per unit, and the result depends on your eye for layout and light.
Professional physical staging. Best for premium units, unusual floor plans, or landlords managing multiple listings. The trade-off is cost and lead time: pro stagers need advance notice, and fees scale with room count and rental term.
Virtual staging. Best for tight timelines, small units that would photograph cramped with real furniture, and landlords who want to show multiple layout options. The trade-off is authenticity: the in-person unit will not match the photos, so disclosure matters.
A practical rule: if the asking rent is near the top of its local comp set, professional physical staging is easier to justify. If the unit is priced at or below market, virtual staging plus strong photography usually delivers more return per dollar.
A Simple Decision Checklist
Run through these questions before committing to a route:
Does the unit photograph well empty, or does it read as a blank box?
Is the lease timeline short enough that furniture rental lead times would delay listing?
Do you already own pieces that fit the unit's scale and palette?
Is the unit premium enough that tenants expect a furnished look?
Can you photograph the unit in strong natural light without staging at all?
If you answer yes to the first two and no to the last three, virtual staging is usually right. If you answer yes to the premium question and have the budget, professional physical staging tends to pay for itself through faster lease-up and stronger asking rent.
Pro Tip Whichever route you choose, shoot the unit in late morning or early afternoon when natural light is strongest and most even. Shooting at dusk forces you to rely on interior fixtures, which rarely flatter a room.
Standardizing Your Kit Across Units
Landlords who stage more than one unit benefit from a shared accent kit: a neutral rug, two or three throw pillows, a throw blanket, a console table, and a few framed abstract prints. These pieces travel between units, cut setup time, and keep listings visually consistent so tenants recognize your properties in search results. The kit need not be expensive, just neutral, durable, and easy to move.
Frequently Asked Questions
Is it worth staging an empty rental property?
Staging gives prospective tenants a clear sense of how each room functions, which helps them picture living there. Empty rooms can look smaller than they are, and bare walls make it harder for renters to judge furniture placement. Staged units typically photograph better for the property listing, which drives more showings and can shorten turnover time. Even light staging, like a few decor accents and a rug, tends to improve visual appeal enough to justify the effort.
What is the most affordable way to stage an empty house?
Virtual staging for rental properties is usually the lowest-cost option because you only pay for edited images, not physical furniture. If you want in-person staging, focus your budget on the rooms that appear in listing photos: the living room, primary bedroom, and kitchen. Rent a few statement pieces instead of furnishing every room, and use textiles, lighting fixtures, and wall art to add warmth without a full furniture rental commitment.
How does virtual staging compare to physical furniture rental?
Furniture rental fills a unit with real pieces tenants can walk through during showings, but it carries monthly fees, delivery logistics, and damage risk. Virtual staging edits furniture into your listing photos at a fraction of that cost and works well for units that must stay vacant or occupied. Many landlords use virtual staging for the property listing and a small amount of physical staging for the open house. The right mix depends on your budget and how quickly you need to lease.
What are the most common staging mistakes that turn off prospective tenants?
Overcrowding rooms with too much furniture makes spaces feel smaller, and bold or personal decor can distract from the property itself. Poor lighting is another frequent problem, since dim rooms photograph poorly and feel unwelcoming during showings. Skipping the declutter and depersonalize step, or leaving clutter in closets and cabinets, also hurts. Stick to a neutral palette, keep functional flow clear, and make sure every photo shows a room at its best.
BOOK NOW

Comments