How to Photograph Small Interior Spaces: 7 Steps

Table of Contents
Pick the Best Lens for Interior Photography in Tight Rooms
Focal Length: Why 16-24mm Beats Ultra-Wide
Smartphone Alternatives That Hold Up
How to Take a Photo of an Entire Room Without Distortion
Camera Height and Shooting Angle
Interior Photography Camera Settings for Small Spaces
Exposure, White Balance, and Bracketing
How to Light a Small Room Using Window Light and Ambient Sources
Expose for the Window, Then Recover the Room
Flash and Bounce for Windowless Rooms
Smartphone Lighting Workflow
Quick Reference: Light Source Priority
How to Make a Small Room Look Bigger in Photos
Post-Processing: Perspective Correction and Realistic Representation
A Step-by-Step Editing Order
How Much Correction Is Too Much
Panorama Stitching as an Alternative to Ultra-Wide
Ethical Representation and Disclosure
Room-by-Room Camera Placement Checklist
Frequently Asked Questions
Last Updated: October 13, 2026
Pick the Best Lens for Interior Photography in Tight Rooms
The best lens for interior photography in tight rooms is a wide-angle zoom in the 16-24mm range on a full-frame camera. That range captures a full room without the stretched, cave-like look of ultra-wide glass.
Focal length decides how much of a room fits in your frame. Lower numbers mean a wider view, but wider is not always better in small rooms.
Focal Length: Why 16-24mm Beats Ultra-Wide
Ultra-wide lenses below 16mm bend straight walls into curves, and furniture near the edges looks warped and oversized.
Buyers notice, and a room that looks twice its real size sets up disappointment at the showing.
The 16-24mm sweet spot keeps vertical lines straight while still fitting a bed, a nightstand, and a window into one frame. For most small bedrooms and bathrooms, 16-20mm works well.
Smartphone Alternatives That Hold Up
Modern phones with an ultrawide lens can handle small interiors in a pinch, but phone ultrawide lenses distort more than a dedicated camera lens.
If a phone is your only option, a few habits help:
Shoot in the phone's main lens when the room allows it
Step back into a doorway to gain distance
Keep the phone level, never tilted up or down
A dedicated camera still wins on straight lines and detail, but a careful phone shot beats a rushed camera shot.
How to Take a Photo of an Entire Room Without Distortion
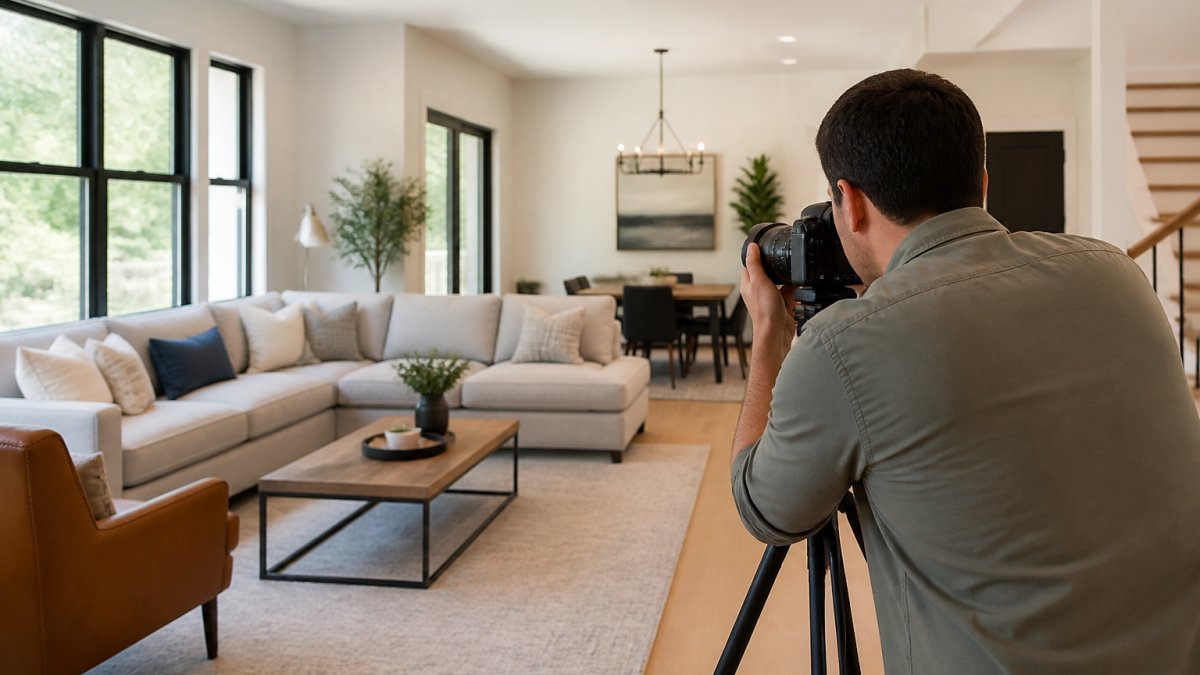
To take a photo of an entire room without distortion, place the camera at chest height, keep it level, and shoot from a corner. Distortion comes from angle and height, not from the lens alone.

Camera Height and Shooting Angle
Camera height changes everything in a small room: too high looks like a floor plan, too low balloons the ceiling.
Chest height, roughly 1.2 to 1.5 meters, matches how a standing person sees the space. That feels natural to buyers.
For angle, shoot from a corner facing the longest wall. This shows two walls and the far corner in one frame, which reads as depth.
Pro Tip Tilt the camera down by just one or two degrees. It hides a cluttered ceiling line without bowing the walls, a trick most guides skip.
Interior Photography Camera Settings for Small Spaces
Interior photography camera settings for small spaces start with a narrow aperture around f/8 to f/11, ISO 100-400, and a shutter speed on a tripod. These settings keep the whole room sharp from front to back.
Becki and Chris
Exposure, White Balance, and Bracketing
Small rooms mix light sources fast, a window, a lamp, overhead bulbs, and your camera cannot balance all three in one shot.
Bracketing solves this. Shoot three to five frames at different exposures, then blend them later.
Set white balance manually or to daylight when window light dominates. Auto white balance drifts between frames and creates odd color shifts.
A sturdy tripod is not optional here. Long exposures and bracketing demand a still camera.
Watch Out Handholding a bracketed shot ruins the blend. The frames won't line up, and you'll get ghosting around every edge. Always use a tripod for multi-shot exposures.
How to Light a Small Room Using Window Light and Ambient Sources
Window light is the best free tool for small interiors. Turn off overhead lights, open every blind, and let daylight do the heavy lifting.
Natural light wraps a room evenly and shows true colors, while overhead bulbs cast harsh shadows and yellow tints that bounce off nearby walls and multiply, which is why small spaces punish bad lighting faster than large ones.
Expose for the Window, Then Recover the Room
The core problem in a small room is dynamic range. A bright window can be 10 to 12 stops brighter than the shadowed corner behind a bed or sofa. No single frame holds both.
A reliable workflow:
Open all curtains and blinds. Remove screens if they are removable, they cut light and add a gray cast.
Turn off ceiling lights that clash with daylight. A 2700K bulb against 5500K daylight creates a color split the camera cannot fix in one frame.
Set the camera to aperture priority at f/8, ISO 100, and let the meter read the window. Note the shutter speed.
Switch to manual and bracket in one-stop increments, typically three to five frames, from window-correct to room-correct.
Add a small lamp for warmth only if the room feels flat after blending. Keep it out of frame or flag it so it does not flare.
Blend the frames in post, using the brightest exposure for the window and the darkest for the corners.
Pro Tip If the window is blown out in every frame, the room is too dark to bracket alone. Add a bounced flash at low power, around 1/16 to 1/32, aimed at the ceiling behind the camera. That lifts the room without competing with the window.
Flash and Bounce for Windowless Rooms
For windowless rooms, interior bathrooms, laundry rooms, walk-in closets, bounce a flash off a white ceiling or wall. Direct flash flattens a room and throws hard shadows onto the nearest wall, usually the one you are trying to show.
A common pattern among real-estate shooters:
Aim the flash head at the ceiling or a side wall, never straight ahead
Start at 1/16 power and adjust in third-stop increments
Use a white card or small bounce panel if the ceiling is dark or vaulted
Smartphone Lighting Workflow
Phones lean on computational HDR, which stacks frames automatically, but still struggle when a window is in frame.
A phone-specific sequence:
Tap and hold on the brightest window area to lock exposure and focus.
Drag the exposure slider down until the window shows detail, not pure white.
If the room goes too dark, tap the darkest corner and let the phone re-meter, then drag the slider up slightly.
Turn on the grid and keep the phone level, computational HDR cannot fix a tilted horizon.
Shoot three versions at different exposure points and pick the best in the phone's editor, or blend them in an app that supports layer masking.
A dedicated camera with bracketing still wins on control, but a locked, leveled phone shot beats a rushed handheld camera shot.
Watch Out Do not mix flash and window light without gelling the flash. An ungelled flash reads as 5500K to 6000K, which is close to daylight, but many household lamps sit near 2700K. If a lamp is in frame, either turn it off or accept the warm cast as a deliberate accent.
Quick Reference: Light Source Priority
Situation | First move | Second move |
Bright window, dark room | Bracket 3-5 frames | Blend in post |
Windowless room | Bounce flash at 1/16 | Raise ISO to 400 if needed |
Mixed daylight and lamps | Turn off clashing bulbs | Bracket and blend |
Phone only | Lock exposure on window | Shoot 3 versions |
One well-bracketed window shot usually beats three hastily lit flash shots. The goal is a room that reads as bright and true, not a lighting demo.
How to Make a Small Room Look Bigger in Photos
To make a small room look bigger in photos, declutter, shoot from the doorway, and frame toward the deepest corner. Honest composition beats tricks.
A few habits that help:
Remove personal items, cords, and clutter
Pull furniture slightly away from walls
Shoot toward the longest sightline in the room
Staging matters more than any lens. A tidy room photographs bigger than a cluttered one, every time.
Key Takeaway The single biggest upgrade to a small-room photo is not gear. It is clearing the frame and shooting toward depth. Do that first, then worry about the lens.
Post-Processing: Perspective Correction and Realistic Representation
Perspective correction straightens leaning walls in editing software. Most editors have a one-click tool that pulls vertical lines back to true, in a small room, the difference between a funhouse mirror and a real space.
A Step-by-Step Editing Order
Editing out of order creates rework. A sequence that holds up across most small-room files:
Correct vertical lines first. In Lightroom, use the Guided Upright tool and draw two vertical guides along door frames or wall corners. In Photoshop, use Filter > Lens Correction > Custom and adjust the Vertical slider. In Capture One, use the Keystone tool.
Blend bracketed exposures. Use HDR Merge in Lightroom or Photoshop, or layer masks in Photoshop. Mask the bright window exposure over the dark room exposure, then feather the mask edge so the transition is invisible.
Adjust white balance. Fix color casts before tonal edits. A window-lit room often needs a slight warm shift; a flash-lit room often needs a slight cool shift.
Lift shadows in dark corners. Keep the Shadows slider under about +40. Beyond that, noise and color blotching appear in small-room files, especially at ISO 400 and above.
Check for edge stretching. Zoom to 100% on the left and right edges. Furniture near the frame edge will look wider than it does in person. If it does, pull back the lens correction or crop slightly.
Export at full resolution. Real-estate platforms and MLS systems often cap file size, so export at the highest quality the platform allows.
Pro Tip Correct verticals before you blend exposures. If you blend first and correct second, the correction shifts the alignment between frames and you get ghosting along wall edges.
How Much Correction Is Too Much
Over-corrected photos flatten depth and stretch furniture, and a room that looks twice its real size sets up disappointment at the showing.
A practical test: compare the edited photo to the room in person.
A common pattern is to correct verticals to about 90 percent of true, not 100 percent. Leaving a tiny amount of convergence keeps the room feeling three-dimensional instead of flat.
Panorama Stitching as an Alternative to Ultra-Wide
When a room is too small for even a 16mm frame, panorama stitching captures more without ultra-wide edge stretching. Shoot three to five overlapping frames from the same position on a tripod head, then stitch in Lightroom, Photoshop, or PTGui.
The trade-off: stitching takes longer, requires a level tripod, and can fail on moving subjects like ceiling fans or curtains. For a quick listing shoot, a single 16mm frame is usually faster.
Ethical Representation and Disclosure
Realistic representation matters for trust: a photo that exaggerates size leads to a letdown at the showing, and agents who rely on repeat business cannot afford that.
A few guidelines that align with common real-estate marketing standards:
Do not stretch a room beyond what a standing person would see
Do not remove permanent fixtures like radiators, water heaters, or structural columns
Disclose virtual staging or significant digital edits if the platform or client requires it
The goal is a clean, true view of the room, not a fantasy version. A photo that helps a buyer understand the space beats one that tricks them into a showing.
Key Takeaway Correct verticals, blend exposures, and stop before the room looks fake. The best small-room edit is the one a buyer never notices.
Room-by-Room Camera Placement Checklist
Camera placement changes room to room. What works in a bedroom can fail in a bathroom. Use this checklist before every shoot.
Bedroom: shoot from the doorway corner at chest height
Bathroom: place the camera at the door, never inside the shower
Kitchen: frame from the entry toward the longest counter run
A repeatable shot list keeps quality steady across every listing and speeds up editing, since every room follows the same framing logic.
For agents and property managers juggling many listings, that consistency is the real win. REimage Real Estate Media handles this whole workflow, from camera placement to next-day delivery, so you can focus on closing the deal.
Frequently Asked Questions
What camera settings work best for photographing small rooms?
Start with an aperture of f/8 to f/11 for sharp front-to-back focus, ISO 100-400 to keep noise down, and a shutter speed of 1/60s or slower on a tripod. Set white balance manually to match the dominant light source. Bracket exposures at 2 EV intervals so you can blend window light and interior shadows during post-processing.
How do you avoid distortion in small-room photos?
Keep the camera level and avoid tilting it up or down, which bends vertical lines. Use a focal length between 16mm and 24mm rather than an ultra-wide lens that exaggerates proportions. Stand at waist to chest height, back into a corner, and leave a small margin around the frame so you can crop and correct perspective later without stretching walls or furniture.
Where should you stand when photographing a small room?
Position yourself in the corner diagonally opposite the room's main feature, such as a window or fireplace. This gives the widest view and shows two walls plus the floor and ceiling. For bedrooms, shoot from the doorway toward the bed. For bathrooms, stand at the entrance and angle toward the vanity and mirror to capture the layout in one frame.
Can you photograph small interiors with just a smartphone?
Yes. Modern smartphones handle small rooms well if you use the main wide camera rather than the ultra-wide, keep the phone level, and enable grid lines for straight verticals. Avoid digital zoom because it degrades detail. Add a small tripod and shoot in the phone's RAW or Pro mode when available so you can adjust exposure and white balance later.
Small rooms are the hardest spaces to shoot well, and they are the ones that decide whether a listing gets clicks. Getting the lens, height, light, and edits right takes practice, or a team that does it every day. REimage Real Estate Media brings professional real estate photography, drone imagery, floor plans, and virtual staging to every order, with next-day delivery and 24/7 online booking built in. Book now and let us handle the media so your small listings look their best.
BOOK NOW

Comments